Travel blogging has given me the freedom to travel the world for the past 9 years. Want to start your own? This detailed guide will show you how to start a travel blog & make money.
I’ve been working as a travel blogger for the past 9 years, and earn six figures annually from professional blogging. So I regularly receive tons of email and questions asking for tips about how to start a travel blog.
I know, I get it. Seeing constant photos from my wild travel adventures on your Facebook or Instagram feeds makes it look like a dream job…
After all, I get paid to travel the world! I admit it’s a pretty sweet gig.
But travel blogging isn’t as easy as it looks from the outside. There’s a lot of work going on in the background that most people don’t see.
So today I wanted to share a useful guide on how to get started travel blogging. Because it’s the first step to becoming a successful travel blogger!
Table of Contents
How To Start A Travel Blog In 2019
The Travel Blogging Journey
The act of starting your very first travel blog is actually pretty easy. If you follow my guide, you can have your own blog up and running today.
However, starting your blog is just the tip of the iceberg.
Now keep in mind the following advice is for those who are prepared to take travel blogging seriously, as some of these steps require spending money.
If you just want to blog as a part-time hobby, you can always start a simple travel blog for family & friends on WordPress.com. It’s totally free!
But if you’re interested in making money with travel blogging like I do, keep reading below for the details.
1. Pick A Name For Your Travel Blog
My first travel blog was called YearAroundTheWorld.com. Do you see the obvious problem with that domain name? Well, I didn’t, not until later.
I was backpacking through Central America, blogging about my experiences and having a great time — when I suddenly decided I wanted to travel for longer than one year. Whoops!
Make It Short & Memorable
Your travel blog domain name should be relatively short, easy to type, easy to spell, easy to remember, and easy to share. I recommend brainstorming by writing down a bunch of words you think will best describe your blog.
Adventure? Food? Culture? South America? What do you want to write about? Who are you? What is your passion? Write everything down and start playing with different combinations of words.
Try using a thesaurus. Ask your friends for advice & suggestions.
Avoid Hyphens & Numbers
This can be difficult to do these days, but it helps to avoid using hyphens or numbers in your domain name because otherwise you’ll be forced to explain it to someone. For example:
POTENTIAL READER: “You have a travel blog? Cool! Where do I find it?”
YOU: “Oh, it’s called expert hyphen vagabond the number 100 dot com.”
As you can see, this type of domain isn’t the greatest for word-of-mouth marketing, which happens to be a good source of promotion while you’re traveling and meeting people.
Avoid Overused Words & Similar Branding
Avoid trademarked company names or words that may be overused in the industry. Sure, you can pick something like Nomadic Bob, Adventurous Wendy, or Wandering Clarence.
But domain names like that won’t stand out very much in the travel blogging niche because those ideas have already been taken by others who are more established.
You’ll have better luck in the long-run with something more original.
Try To Think Long-Term!
Think good & hard about choosing your travel blog’s domain name, because changing it, later on, isn’t easy (or fun). Be careful not to pigeonhole yourself.
If you call your blog Twenty-Something Travel like my friend Steph (sorry Steph!), what happens when you turn 30? Branding yourself is important in the travel blogging business.
I was thinking long-term when I eventually changed my blog’s name to ExpertVagabond.com because, let’s face it, at 3 months in I was HARDLY an expert.
Yet I was passionate about becoming a professional travel blogger and knew eventually this would be perfect. I’d just have to grow into my new name!
2. Set Up Hosting For Your Blog
What the heck is hosting? It’s not as confusing as it sounds. Most websites need to “rent” space on the internet. A place to store all your blog’s data, files, and photos so that people around the world can easily access it when they type in your domain name.
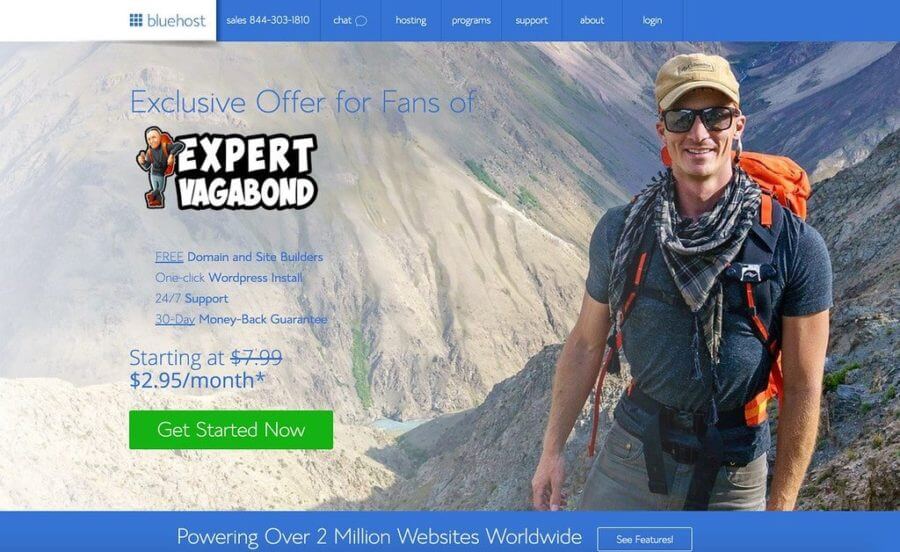
Hosting can actually be pretty cheap. I recommend new travel blogs get hosting with BlueHost. There are many different hosting companies out there, but BlueHost is very affordable & makes setting up a new travel blog crazy easy.
They offer quality shared hosting for a very low price (only $2.95 per month for 12 months through this link).
[Full Disclosure: As an affiliate, I receive compensation if you purchase through these links, at no extra cost to you. But I’d still recommend them even if I wasn’t!]
Eventually, when you have hundreds of thousands of visitors per month on your blog like me, you may want to upgrade your hosting to a dedicated server. But those can be expensive (mine is over $200 a month)…
So if you are just starting out, getting a basic hosting account with BlueHost is much more affordable.
How To Set Up Your Travel Blog
STEP A: Click the green button that says “GET STARTED NOW.”
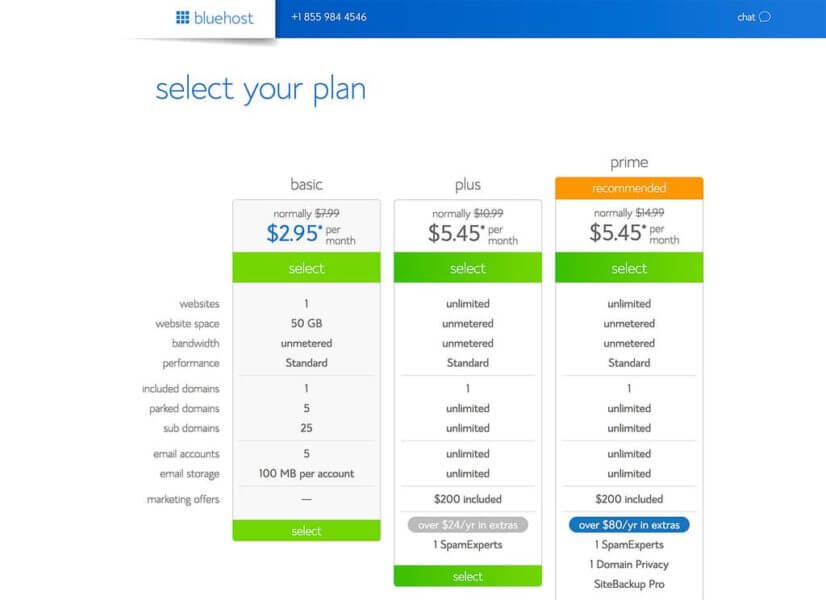
STEP B: Pick a hosting plan depending on your budget/goals.
STEP C: Check to see if your blog name (domain name) is available.

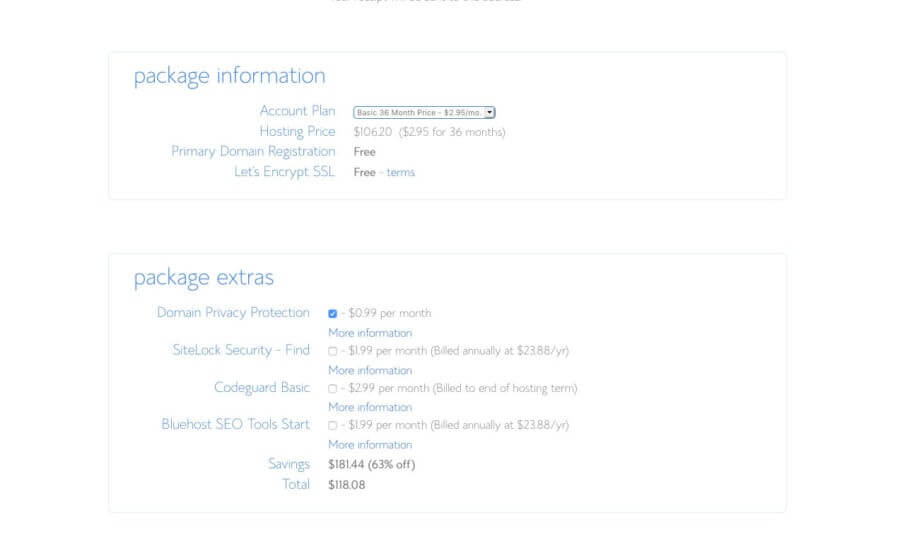
STEP D: Add extra features if you want to.
The only feature I really recommend is Domain Privacy Protection. Otherwise, anyone can look up who owns your site, giving them access to your contact info. This way they won’t be able to.
3. Install WordPress Software
To start a serious travel blog, you want a self-hosted WordPress account. This means the WordPress software resides on your hosting company’s servers, not on a free WordPress.com account. What’s the difference?
- Your website is “MyTravelBlog.com” rather than “MyTravelBlog.WordPress.com”
- You own your data and have full control
- You can sell advertising on your site
- You can install plugins & custom themes
- You can use Google Analytics tracking (important)
Yes, you want to use WordPress too. Not Blogspot, not Blogger, not anything else. WordPress is the king of blogging, and probably always will be.
Most professional websites use the WordPress blogging platform these days, even major brands like the New York Times, BBC, Time, Beyonce, etc. You’re in good company!
BlueHost Makes It Easy!
Installing WordPress with your BlueHost Account is super easy — because it’s done automatically with the click of a button.
Once installed, you’ll be able to log into the WordPress dashboard with your new username and password and start building your site. Welcome to the club! You now have a travel blog.
4. Learn How To Use WordPress
Feeling intimidated about WordPress? Don’t worry. Because it’s the industry standard when it comes to blogging platforms, and has been for years, there are TONS of useful tutorials online that will teach you about anything you need.
Here is my favorite free WordPress training resources:
- WordPress itself has a huge library of free wordpress lessons that will help you get started.
- If you become a BlueHost customer, ask customer support about Blue Flash, their own series of free tutorials and guides.
Basically, spend a Saturday learning how to use your WordPress dashboard, how to tweak your site’s settings, how to post an article, etc. You’ll get the hang of everything with practice.
5. Download A Professional Theme
Your new WordPress blog comes with a couple of standard “themes”, or designs for your site. While this is ok for playing around in the beginning, if you want to take this seriously and eventually make money with your travel blog, you should buy a premium design.
Professional blog themes cost about $50, and they’ll greatly improve the look and functionality of your site.
I’ve changed themes a few times over the years, but the current one I’m using is called GeneratePress.
Another great place to buy blog theme designs is a marketplace called ThemeTrust.
Many professional themes provide a support forum where you can ask questions about customization, and someone will help you get the look you’re after using CSS/HTML coding. Or, you can hire a cheap web developer through Upwork to do custom design work on your site.
You may also want to have a cool logo created. I used a site called 99 Designs for mine. A professional logo really makes your brand stand out from the thousands of other travel blogs online.
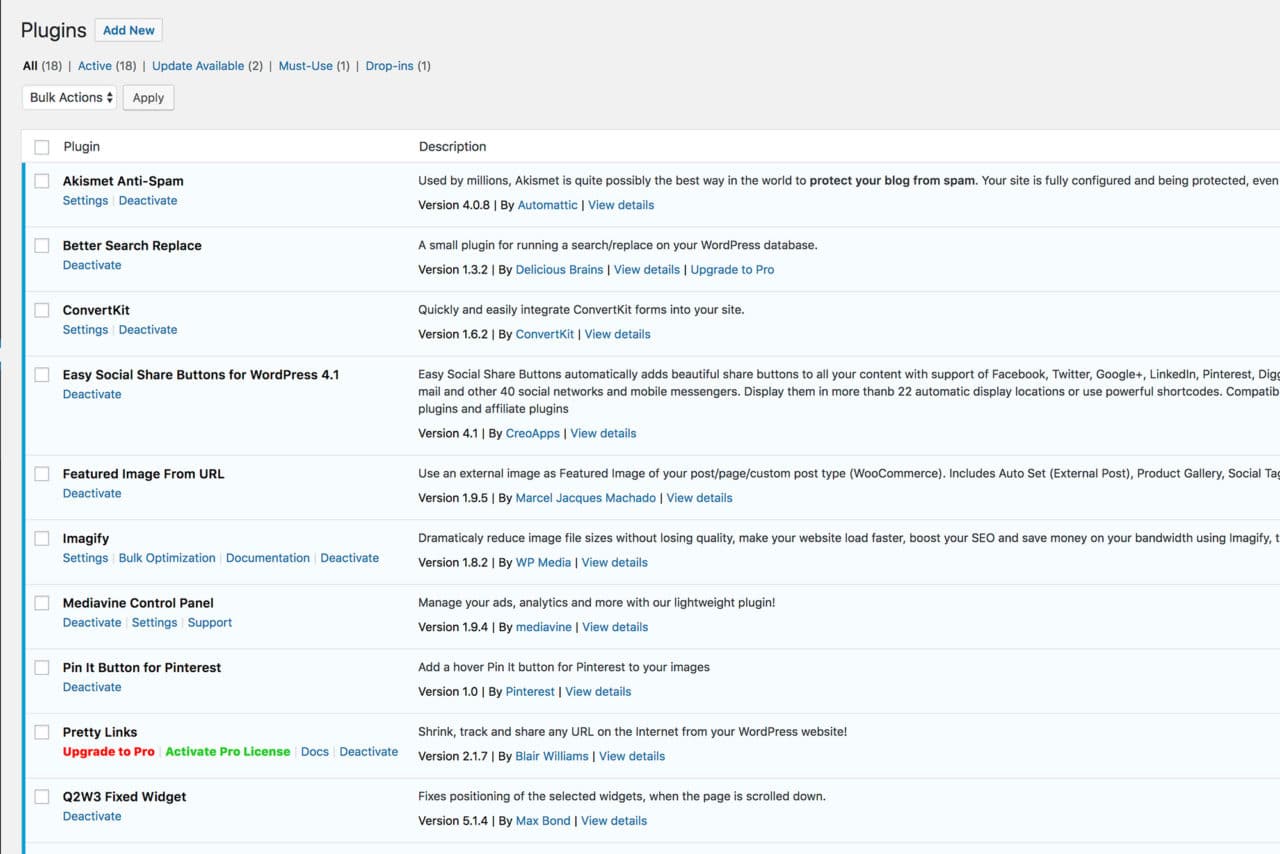
6. Install Essential Plugins
You can think of WordPress plugins as third-party apps for your travel website. They give your blog additional features. Most plugins are free, some you have to pay for.
You can download new plugins in the “plugin” section of your WordPress Dashboard.
Here’s my recommended list of plugins to install with your travel blog.
- Akismet – Protects your blog from spammers leaving comments on your posts. Not perfect, but probably the best one out there.
- Yoast SEO – Very important plugin for optimizing your articles for Google search, plus integrating Google Sitemaps and Analytics.
- Easy Social Share Buttons – Nice social media sharing buttons for your articles.
- WP Rocket – Caching plugin that speeds up your travel blog
- Imagify – Automaticaly optimizes your media library images for fast loading
There are others of course, but these will get you started.
7. Craft Your Online Persona
Create An About Page
One of the first things you should do on your blog is to create an about page. This is one of the most highly trafficked pages on any travel blog, because it tells people who you are, your background, and explains why they should follow you.
Keep it fun and personable. Let your readers know who you really are!
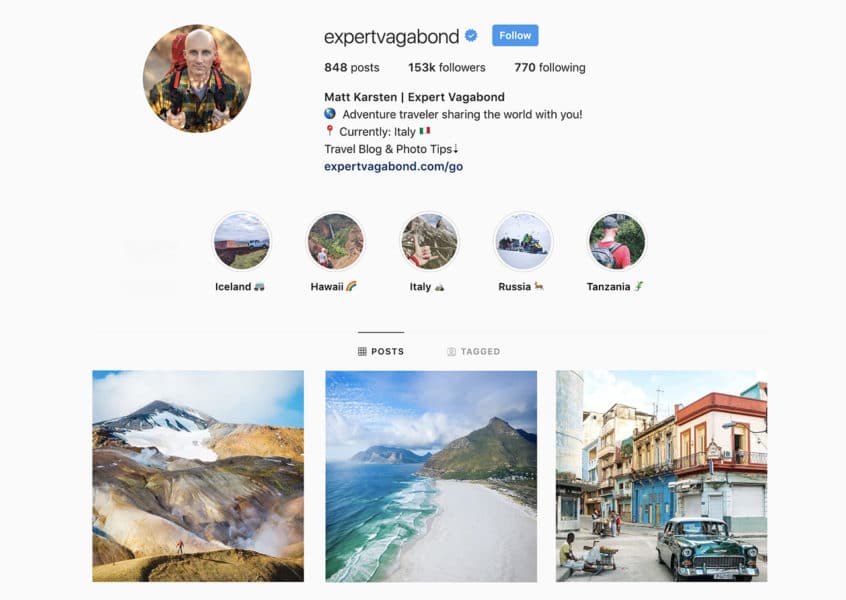
Embrace Social Media
If you want to build a successful and profitable travel blog, posting regularly to social media is important.
Learning how to master social media is a huge topic, one that I cover more here: Secrets Of Professional Travel Blogging
To begin, sign up for all the most popular platforms, and keep your social media username the same on all of them if possible. Otherwise, people can get confused.
A note on social media. Sometimes people ask me if they should start their travel blogs on Facebook or Instagram instead of having an actual website.
No, I don’t recommend relying on Facebook or Instagram. You don’t have any control over those platforms, and they could easily disappear in the future.
Use social media to promote and support your blog. Don’t build your business on a platform you have no control over, it’s just too risky.
8. Writing Your First Blog Posts
Now it’s time to begin creating content for your travel blog. When you first start out, I recommend publishing new articles at least 1-2 times per week. But remember, quality is more important than quantity!
Take your time to craft excellent, useful blog posts that have impact. You want your articles to inspire wanderlust, but they should include plenty of actionable tips too.
In the beginning, maybe tell people why you are starting a travel blog. Or share what you’re packing for an upcoming trip.
Share your favorite (or not so favorite) parts of a country. Give tips for fun things to do, share your crazy travel stories, show-off your beautiful images in photo essays, create a short video tour, or give food recommendations.
Whatever the topic is, writing a blog post will help you understand how to publish images, headers, and all the other formatting that comes with publishing on WordPress.
Try writing about different topics to find your voice, and see what kinds of posts actually resonate with readers.
For example, road trip guides do really well on my site. But I didn’t discover that until later. You need to experiment!
Need some ideas? Here are some of my most popular blog posts.